.svg)


.svg)
.svg)
.svg)
As the colder months fade and warmer weather approaches, pool owners begin looking forward to long, sunny days spent enjoying their backyard oasis. Before you can dive in, however, there’s one essential task that sets the tone for the entire season: Pool Opening. Opening your pool for the summer is more than simply removing the cover and turning on the pump—it’s a detailed process that ensures your pool is clean, safe, and properly balanced for months of trouble-free enjoyment. A well-executed pool opening can save you time, money, and unnecessary frustration throughout the swim season.
In this updated guide, we’ll walk you through the pool opening process step by step, from uncovering your pool after winter to balancing the water chemistry for your first swim. While the fundamentals of pool opening haven’t changed, this refreshed overview reflects current best practices to help both new and experienced pool owners start the season with confidence.
Step 1: Remove and Store the Pool Cover
The first step in welcoming the swimming season is to remove your pool's cover, which has been protecting your pool from debris and the elements during the off-season. Begin by pumping off any accumulated water from the surface of the cover with a submersible pump. This is crucial to prevent the dirty water on top of the cover from mixing with your pool's water. Next, carefully remove any leaves, twigs, and other debris that have settled on the cover. Once the cover is clean, enlist the help of another person to gently remove it, taking care not to drag it across the pool's edge to avoid damage.
With the help of another person, gently remove the cover, taking care not to drag it across the pool deck or coping, which could cause unnecessary wear or damage. Once removed, lay the cover flat on a clean surface and wash it using a pool cover cleaner or mild detergent. This step removes algae, dirt, and residue that could weaken the material during storage. Rinse thoroughly and allow the cover to dry completely to prevent mold and mildew. Fold it neatly, place it in a storage bag if available, and store it in a cool, dry area away from sunlight and pests.
Step 2: Clean the Pool Area
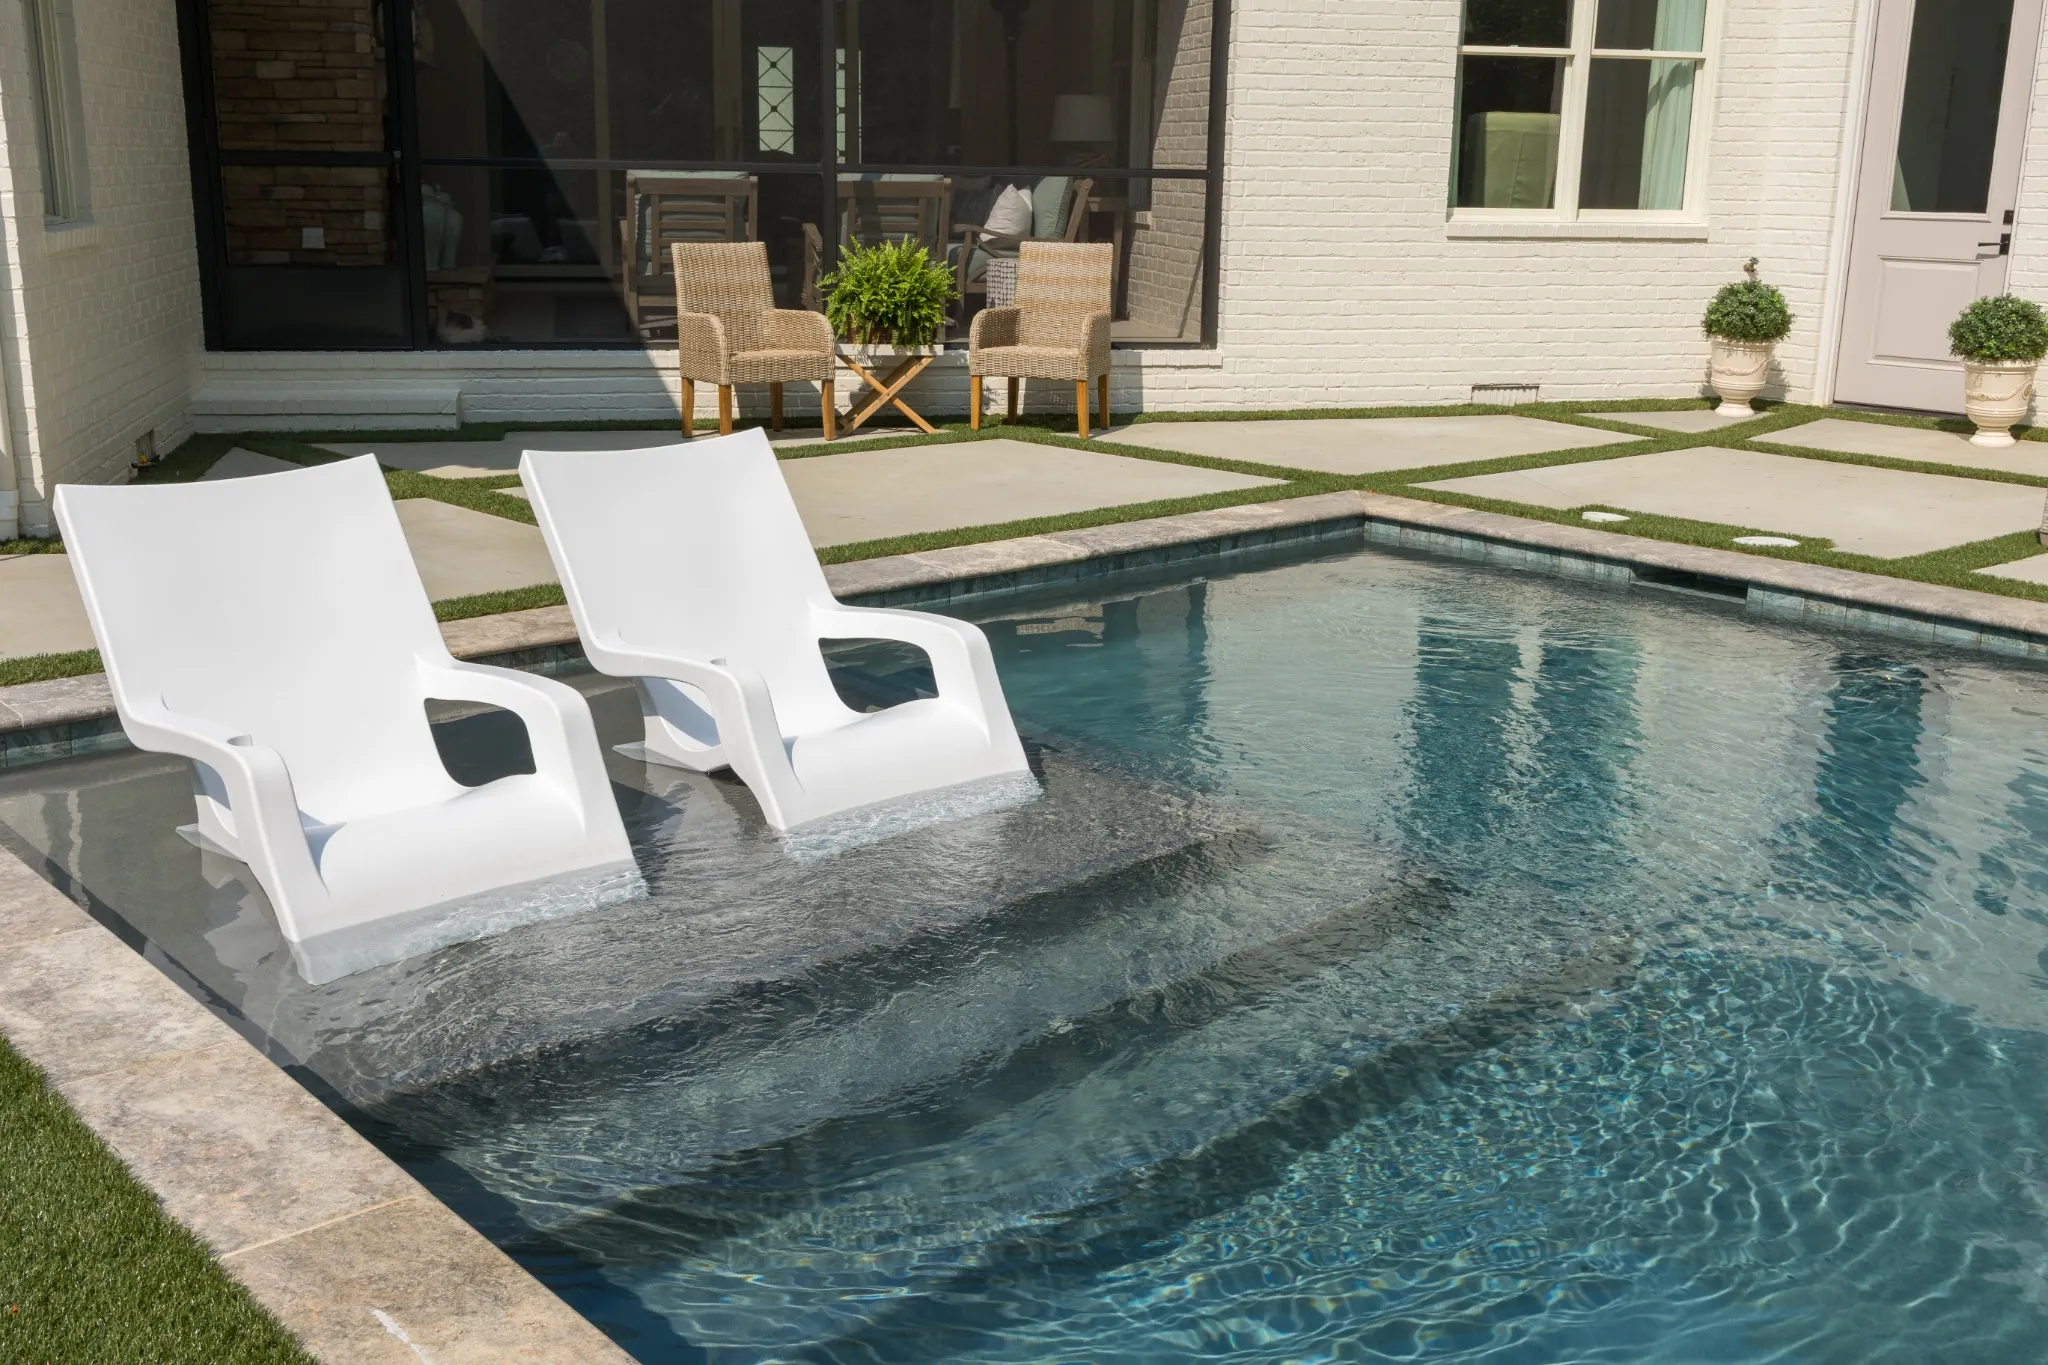
Once the cover is stored, turn your attention to the pool area. Over the winter, wind and weather often leave behind dirt, leaves, and debris. Start by cleaning the deck, patio, and surrounding surfaces to keep debris from being tracked back into the pool. This is also a great time to set up pool furniture, umbrellas, and safety equipment, making sure everything is clean and in good working order.
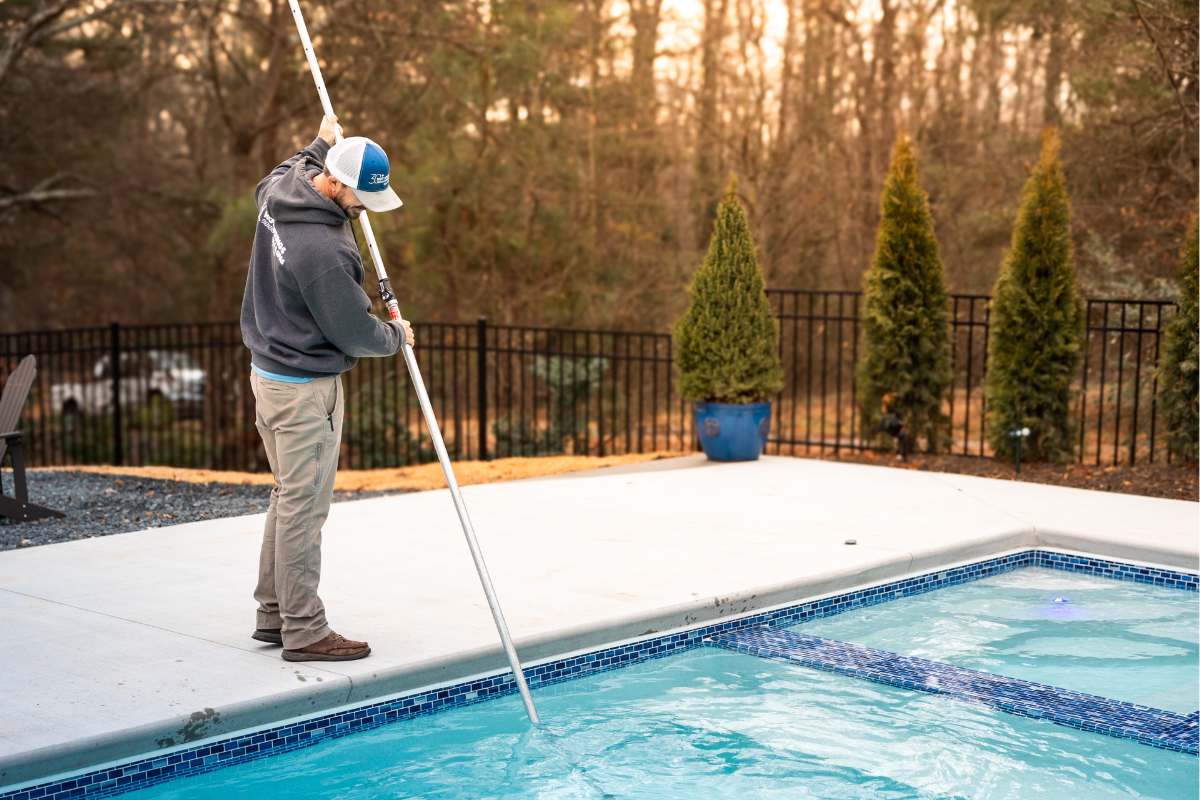
Next, inspect the pool itself. Use a skimmer net to remove floating debris from the water’s surface. Vacuum the pool floor thoroughly, paying close attention to corners and hard-to-reach areas where debris tends to collect. Finish by brushing the pool walls and steps to remove dirt, algae, and calcium buildup. This deep cleaning step is critical during Pool Opening and helps reduce the amount of chemicals needed later.
Step 3: Refill the Pool to Proper Level
After the initial cleaning, you may notice that the water level in your pool has dropped below the recommended level, typically halfway up the skimmer opening. This decrease can occur due to evaporation or leaks. Use a garden hose to add fresh water to the pool, monitoring the water level closely to avoid overfilling. While the pool is filling, please take this opportunity to inspect the skimmer baskets, remove any debris, and ensure they are in good condition for efficient operation.
As the pool fills, consider the source of your water. If you're using tap water, be aware that it may introduce metals or other minerals into your pool, affecting water chemistry. In some cases, a pre-filter attached to your hose can help remove these contaminants before they enter your pool. Once the water has reached the appropriate level, allow it to circulate for a few hours or overnight. This circulation will help mix the fresh water with the existing pool water, making the upcoming chemical adjustments more effective.
Step 4: Inspect and Reconnect Pool Equipment
Before your pool can be fully operational, inspecting and reconnecting all pool equipment is vital. Start with the pump, filter, and heater, checking for any signs of damage or wear that might have occurred during the winter months. Look for cracks, leaks, or any other signs of damage on hoses, fittings, and electrical connections. Replace any worn or damaged parts to ensure optimal performance and safety. Once you've confirmed that all equipment is in good condition, securely reconnect everything. Be sure to follow the manufacturer's guidelines for any specific setup procedures.
After everything is connected, prime the pump to remove any air trapped in the system, which can prevent proper water circulation. Turn on the pump and observe the water flow, ensuring that there are no leaks and that the water is moving smoothly through the filter. If you have a multi-speed pump, start it on a low speed and gradually increase it to ensure it's functioning correctly. This step is crucial for ensuring that your pool's filtration system is ready to keep your pool clean and clear throughout the summer. Sometimes, adding water to the pump basket can help prime the system. This may need to be done several times in order for it to work. Another trick is to put the filter on recirculate and shut the skimmer off so it is only pulling from the main drain. This reduces resistance from the filter and elimates the need to move the air out of the skimmer during the initial prime. Once the pump is primed, slowly open the skimmer back up until all the air has left the skimmer line. After both the main drain and skimmer line are primed, you can shut the pump off, turn the filter to "filter", and start it back up again.
Step 5: Balance the Pool Water Chemistry
The correct balance of pool chemicals is essential for ensuring the water is safe and comfortable for swimmers and protecting the pool's surfaces and equipment from damage. Use a high-quality pool test kit to measure pH, chlorine, total alkalinity, and calcium hardness levels. The ideal pH level is between 7.2 and 7.6, which ensures that the chlorine in your pool works effectively without irritating swimmers' skin and eyes. Total alkalinity, which helps stabilize the pH, should be between 80 and 120 parts per million (ppm), and calcium hardness should be maintained between 200 and 400 ppm to protect the pool surfaces and equipment. Salt water pools typically need around 3000ppm of salt in order for the chlorinator to work.
Adjust any tested levels using the appropriate chemicals if they are out of the ideal range. Start with total alkalinity, as it can affect the pH level. Adjust the pH if needed once the alkalinity is within the correct range. If you add chemicals to adjust these levels, do so gradually, allowing the water to circulate for several hours before retesting and making further adjustments. This step-by-step approach ensures that the pool water is safe for swimmers and optimally balanced to minimize the need for ongoing adjustments throughout the season.
Pro Tip - It's much easier to add more product, it is a lot harder to remove too much. When in doubt, under dose the pool, wait, test, and if needed add more.
Step 6: Shock the Pool
The final step in the pool opening process is to "shock" or super-chlorinate your pool water. This treatment is necessary to eliminate bacteria, algae, or organic matter that may have accumulated in the pool during the off-season. Follow the manufacturer's instructions for the shock product you're using, as the required amount can vary based on the pool size and the shock type. It's best to perform this step in the late evening or on an overcast day to prevent sunlight from reducing the effectiveness of chlorine.
After adding the shock to the pool, run the pump and filter continuously for at least 24 hours to ensure thorough distribution and filtration of the shock throughout the pool. During this time, avoid swimming in the pool until the chlorine levels return within the safe range of 1-3 ppm. This may take a few days, during which you should continue to test the water daily and adjust the chlorine levels as needed.
Opting for Hot Springs Pools & Spas as your pool builders and hot tub installation specialists ensures access to unparalleled expertise in crafting luxurious aquatic environments. Known for their outstanding design, meticulous installation, and dedicated maintenance services, this team transforms your vision into a reality with precision and flair. Their unwavering commitment to quality and customer satisfaction and a profound understanding of pool construction and hot tub integration guarantee a seamless and enjoyable addition to your home. Whether embarking on a new pool project or seeking expert hot tub installation, Hot Springs Pools & Spas provides the essential skills, support, and service excellence required to bring your dream backyard oasis to life.
If you don't live near a pool store or don't feel like driving: check out our online store, Pool Goods. We only source quailty product & genuine parts so you don't have to worry about buying knock offs or third rate chemicals. The best part, we do our best to make sure our prices are competative so you don't have to break the bank.

.jpeg)
.jpeg)
.jpeg)


